How to Label Furniture for Movers: A Comprehensive Guide
Moving can be a daunting task, and proper organization is key to ensuring everything goes smoothly. One of the most crucial aspects of this organization is labeling your furniture correctly for the movers. This guide will walk you through the steps and tips on how to label your furniture effectively, making sure that your move is as efficient and stress-free as possible.
Understanding the Importance of Labeling Furniture
Before diving into the how-tos, it’s essential to understand why labeling your furniture is so important:
- Efficiency: Proper labels help movers quickly identify where each piece goes, speeding up the moving process.
- Safety: Labels can indicate if a piece is fragile or requires special handling.
- Organization: It keeps your items organized, ensuring that everything ends up in the right room at your new place.
Materials Needed for Labeling
Gather the following materials before you start labeling:
- Quality marking pens
- Colored stickers or labels
- Masking tape
- Bubble wrap or protective coverings for fragile items
- Digital camera or smartphone (optional but recommended)
Step-by-Step Guide to Labeling Your Furniture

Step 1: Clean and Inspect Your Furniture
Before labeling, clean your furniture. This not only makes it easier for the movers but also gives you a chance to inspect each piece for any existing damage. Taking photos for your records is a good practice.
Step 2: Choose a Labeling System
Decide on a labeling system that works best for you. Some popular methods include:
- Color-Coding: Assign a color to each room and use corresponding colored stickers or labels.
- Numbering System: Number each item and keep a list that details what each number represents.
- Descriptive Labels: Write a brief description of the item and its destination room.
Step 3: Labeling Fragile Items
For fragile items:
- Use bright, easily noticeable labels.
- Clearly mark the item as “FRAGILE.”
- Indicate the top side with an “UP” arrow.
Step 4: Secure the Labels
Make sure labels are securely attached. If you’re using stickers, ensure they adhere well. For larger items, you might want to reinforce labels with masking tape.
Step 5: Create an Inventory List
Keep an inventory list of labeled furniture. This can be a simple spreadsheet or a handwritten list. Include a brief description and the label you’ve used for each item.
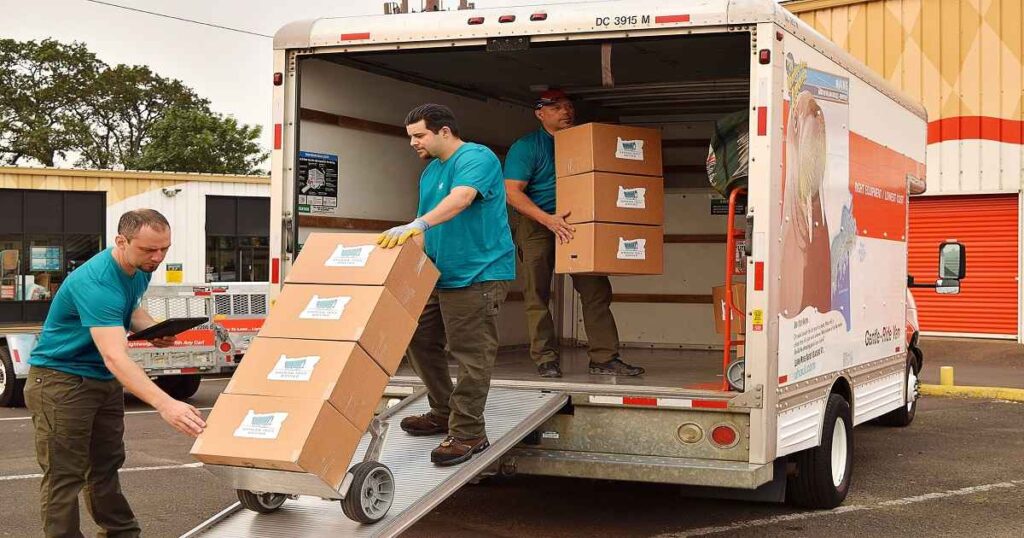
Step 6: Inform Your Movers
Give your movers a brief rundown of your labeling system. If you’ve used a color-coding system, a color key can be extremely helpful.
Additional Tips for Labeling Furniture
- Do Not Block Moving Paths: Ensure that labels are placed in spots that won’t be covered by hands or moving equipment.
- Use Consistent Labels: Stick to one type of labeling method for all your items.
- Be Specific with Room Names: Instead of just “Bedroom,” specify “Master Bedroom” or “Kids’ Bedroom.”
- Protect Your Labels: Cover labels with clear tape if you’re worried about them ripping off.
- Double Check Everything: Before moving day, double-check all your labels to ensure nothing is missed.
Post-Move Furniture Labeling Benefits
After the move, labels can still be beneficial. They can help you:
- Quickly identify and organize your items.
- Keep track of any missing pieces.
- Easily communicate with movers about furniture placement.
Conclusion
Labeling your furniture for movers is a simple yet effective way to ensure a smooth moving process. By following these steps and tips, you can protect your belongings, provide clear instructions to your movers, and settle into your new home with ease. Remember, a little organization goes a long way in making your move less stressful and more efficient.
By following this detailed guide, not only will your moving day be organized and efficient, but you’ll also have peace of mind knowing that your furniture is properly accounted for and handled with care.