How To Take Apart Old Wood Furniture
Step-by-Step Guide to Dismantling Old Wooden Furniture
Dismantling old wood furniture is not just about taking apart pieces; it’s about uncovering the story and potential hidden within each item. Whether you’re aiming to restore a vintage piece, repurpose it for a new use, or recycle its materials, the process demands attention, care, and a strategic approach. This comprehensive guide offers a step-by-step walkthrough to ensure you dismantle your wooden furniture safely and efficiently, preserving its integrity for future projects.
Understanding Your Furniture’s Construction
Before embarking on the disassembly process, it’s imperative to study your furniture piece closely. Identify the method of construction—whether it’s held together by screws, bolts, dowels, or glue. This preliminary inspection will inform your approach and help you anticipate the tools and techniques required.
Essential Tools for the Task
A successful disassembly relies heavily on the tools at your disposal. Ensure you have:
- A variety of screwdrivers (flathead and Phillips)
- Rubber mallet
- Wood chisels of different sizes
- Claw hammer
- Needle-nose pliers
- Utility knife
- Sandpaper (various grits)
- Safety gear (gloves and goggles)
Having these tools organized and within reach will streamline the process and minimize potential damage to the furniture and yourself.

Preparing for Disassembly
Setting Up Your Workspace
Choose a spacious, well-lit area to work in. Protect the floor with a drop cloth and the furniture with blankets to prevent scratches or damage. Good lighting is crucial for spotting small details and fasteners.
Step 1: Removing Drawers and Doors
Begin by taking out any drawers or doors to lighten the load and reduce the risk of accidental damage. If drawers are jammed, gently coax them out with a wiggle or a careful tap from behind with a rubber mallet.
Step 2: Unscrewing and Unbolting
With the appropriate screwdrivers, remove all screws and bolts. Keep a container nearby to store these small components securely. If a screw is stubborn, a drop of lubricant can help loosen it without causing damage.
Step 3: Addressing Glued Joints
Glued joints require a delicate touch. Soften the adhesive with a hairdryer and gently pry the pieces apart with a chisel and mallet. If the glue persists, consider using a solvent designed for this purpose, applying it sparingly to avoid wood damage.
Step 4: Tackling Dowels and Interlocking Joints
Dowelled or interlocking joints can pose a challenge. If gentle tapping doesn’t work, drilling into the dowel to relieve tension may be necessary. Proceed with caution to avoid damaging the wood.
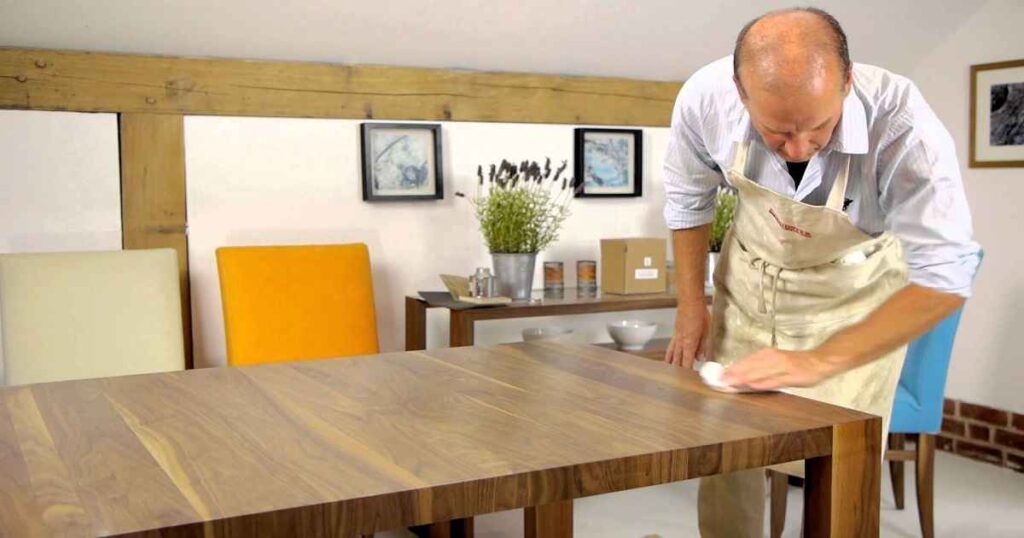
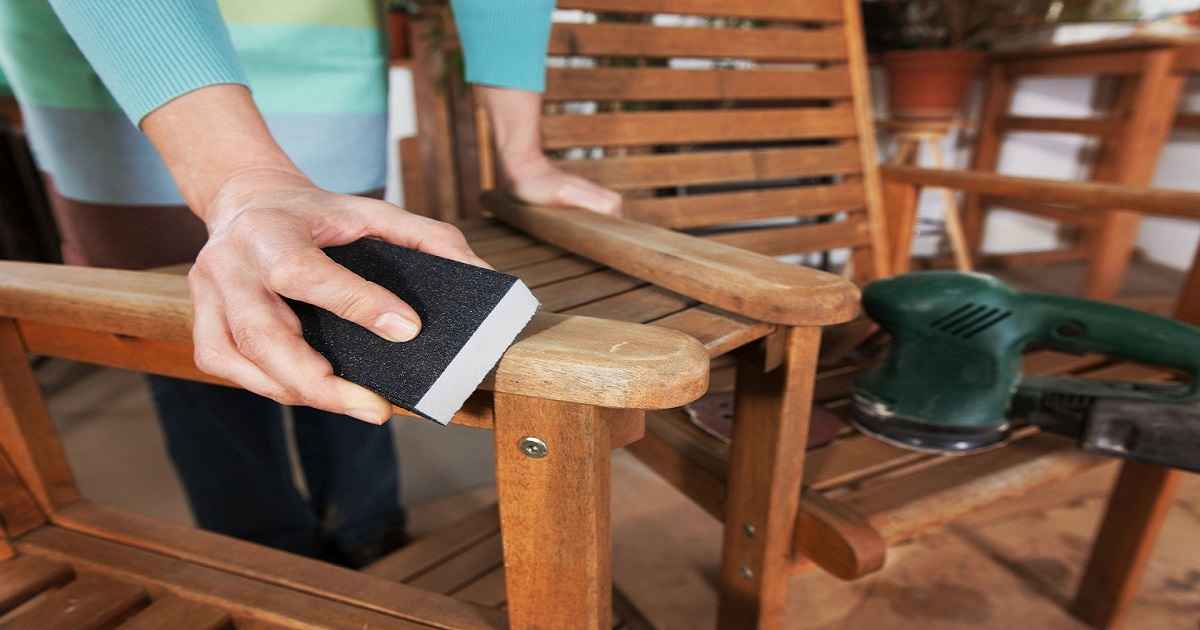
Step 5: Sanding and Cleaning Up
Once disassembled, smooth any rough edges with sandpaper and clean all components with a soft cloth. This not only prepares the pieces for their next life but also gives you a cleaner workspace.
Advanced Tips for a Smooth Process
- Photograph each step: Documenting the disassembly process can be invaluable, especially if you plan to reassemble the piece.
- Label everything: Use masking tape and a marker to label parts as you go, noting their original location for easier reassembly.
- Exercise patience: Rushing can lead to mistakes. If a component doesn’t come apart easily, take a step back and reassess your approach.
- Consult professionals when needed: If you’re dealing with a particularly valuable piece or find yourself stuck, professional advice can be worth its weight in gold.
The Importance of Detail and Patience
As you work through the disassembly process, remember that each piece of furniture has its quirks. Variations in construction, age, and materials mean that no two disassembly processes are exactly alike. Stay adaptable and be prepared to modify your approach as needed.
Dealing With Common Challenges
- Stripped screws: Use a rubber band over the screw head and press the screwdriver through it for added grip.
- Stubborn glue: A mixture of vinegar and water can sometimes loosen older adhesives without the need for harsh chemicals.
- Split wood: Clamp the area gently to hold it together and apply wood glue sparingly to repair splits without disassembling further.
The Reward of Restoration and Repurposing
Dismantling old wood furniture is more than a task—it’s an opportunity. It’s a chance to give new life to old materials, to craft with history, and to engage in a sustainable practice that respects the past while looking forward to the future. Whether you’re restoring a piece to its original glory, transforming it into something entirely new, or simply ensuring its materials are reused, the process is a deeply rewarding one.
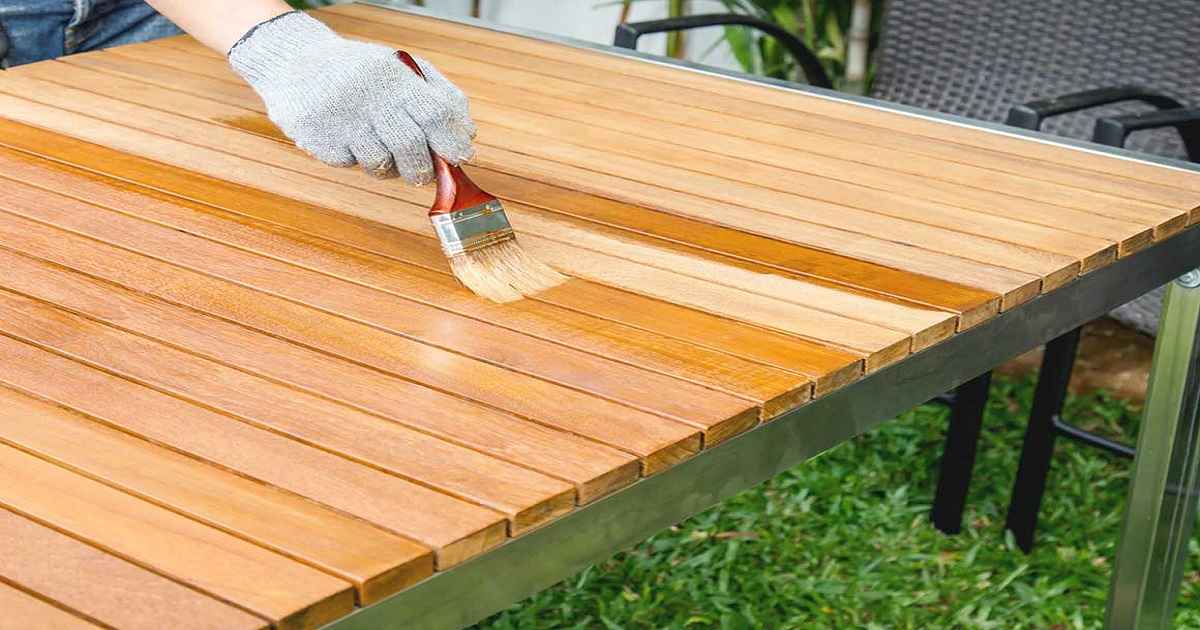
Planning Your Next Steps
After disassembly, consider your next moves. If you’re restoring, this might involve repairs, sanding, and refinishing. For repurposing, brainstorm how each component could serve a new function. And if recycling is your aim, research how best to repurpose the wood or donate it to a local school, workshop, or community project.
Conclusion
Taking apart old wood furniture is an art form that requires skill, patience, and respect for the material. By following this guide, you equip yourself with the knowledge and techniques to dismantle pieces safely and thoughtfully, paving the way for their next chapter. Whether you’re a seasoned restorer or a DIY enthusiast, the process of disassembling and repurposing old furniture is a meaningful journey—one that connects us to the past, enhances our present, and contributes to a more sustainable future.
Remember, each piece of furniture has a story, and by choosing to dismantle it with care, you become a part of that story. The act of taking apart, restoring, or repurposing furniture is a tangible connection to craftsmanship and history, a satisfying challenge, and a creative outlet. So, as you undertake your next project, approach it with the curiosity, respect, and dedication it deserves.